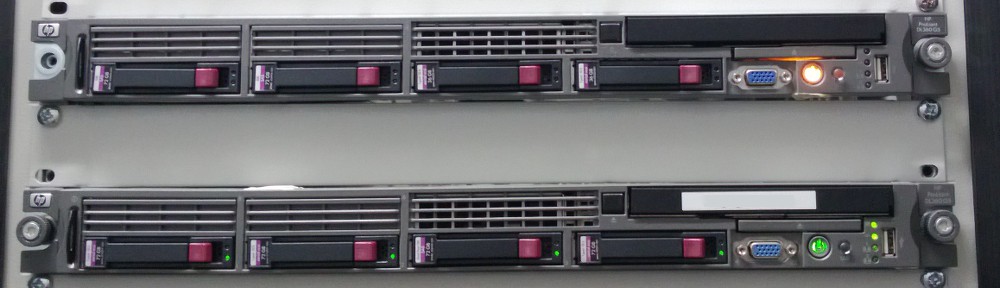
 I got my electricity-bill the other week … Well, statistically, I must be running a hotel somewhere in the basement ;)
So, it’s finally time to finalize the virtualization projects I keep on pushing to some later point in time. I’ll virtualize some Pentium-3-boxes running linux at home, which do the other odd job, onto the AMD X2 box I bought a year ago. While most stuff could as well be re-deployed on that new box, without the runtime overhead by virtualization, I’m simply out of time here, so … they’re virtualized. With VMware, since I have some experience with VMware — I’ve been using their products since about 1999 (VMware Workstation) to cope with the need to run MS Office occasionally ;)
I did some dd-ing to .img, mumble magic words and type a .vmdk for the .img before. But, somehow, right now, I seem to have lost both my wand and my book of spells … Whatever, it just didn’t work and all the funny tips via google, e. g. using qemu-img to convert the dd’ed partition into an VM, only burnt my time and disk space: Unfortunately, only disk space can be reclaimed.
Finally, seeking trough my mail archives, I found a hint I sent me myself over a year ago — as it seems, I may have failed to find a quick solution not for the first time ;)
To give credit where credit’s due – and to find the information quicker the next time I need it –: Imran Nazar wr0ote a nice article about how to generate a .vmdk file for a hard disk image, created by dd.
I’ll sum it up, mainly for myself finding it again, here; »physical« is the installation to be virtualized, »vmware-server« the future host (running e. g. VMware Server). I expect you are familiar with the *IX command line.
First: write down or pipe away the geometry of the partition to virtualize – it’s / at /dev/sdb1 in this case:
root@physical:~# sfdisk -luS /dev/sdb
Disk /dev/sdb: 8708 cylinders, 255 heads, 63 sectors/track
Units = sectors of 512 bytes, counting from 0
Device Boot Start End #sectors Id System
/dev/sdb1 * 63 20980889 20980827 83 Linux
/dev/sdb2 20980890 24065369 3084480 82 Linux swap / Solaris
/dev/sdb3 0 - 0 0 Empty
/dev/sdb4 64243935 139894019 75650085 5 Extended
/dev/sdb5 64243998 139894019 75650022 83 Linux
Second: Generate image of boot sector:
root@vmware-server:/data/vmware/Virtual_Machines/new# nc -l -p 1234 >new.mbr
root@physical:~# dd if=/dev/sdb bs=512 count=63 | nc vmware-server 1234
Third: Generate image of partition:
root@vmware-server:/data/vmware/Virtual_Machines/new# nc -l -p 1234 >new-sdb1.img
root@physical:~# dd if=/dev/sdb1 | nc vmware-server 1234
Forth: generate new.vmdk for the dd’ed .img:
# Disk DescriptorFile
version=1
CID=ffffffff
parentCID=ffffffff
createType="monolithicFlat"
# Extent description
RW 63 FLAT "new.mbr" 0
RW 20980827 FLAT "new-sdb1.img" 0
RW 118913129 ZERO
# The Disk Data Base
#DDB
ddb.adapterType = "ide"
ddb.geometry.sectors = "63"
ddb.geometry.heads = "255"
ddb.geometry.cylinders = "8708"
ddb.virtualHWVersion = "4"
ddb.toolsVersion = "0"
The is 118913129 calculated by 139894019–20980890, that is last sector of device minus last sector of our partition minus one.
After booting into the virtual system, you better clean the partition table (fdisk /dev/xxx), as it’s still the copied one from the original drive (new.mbr) and you or Linux might get confused ;)